Sample Implementation: Making Cuts from a Manufacturer’s Oral Liquid
1. If not diluting the manufacturer’s oral liquid, follow the manufacturer and pharmacist instructions to draw and take the calculated dose.
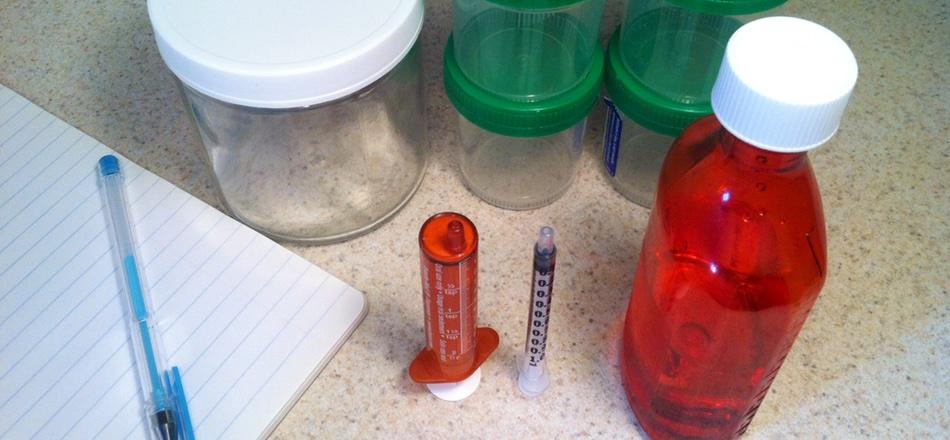
2. If diluting the manufacturer’s oral liquid based on pharmacist instructions, set up a quiet, spacious, dry area that’s easy to clean for a working space, and have all the necessary gear to hand. Ensure the space and gear are clean and preferably sterile.
3. Put the adapter cap on the bottle, if needed.
4. Follow the manufacturer or pharmacist instructions to shake or agitate the liquid until it’s well mixed, if and as appropriate.
5. Insert the syringe and draw up the calculated dose.
6. Deposit the calculated dose into the main jar.
7. Using a syringe, draw up the calculated amount of liquid for the liquid dilution and deposit it into the main jar, ensuring that the total amount of measured liquid in the liquid dilution includes both the volume of the manufacturer’s oral liquid and the volume of diluting liquid.
8. Mix, shake or stir the contents of the main jar until the drug is distributed evenly, and then immediately insert the slip tip of the syringe into the liquid and draw up the amount of the planned cut.
9. The contents that remain in the main jar are the new, reduced total liquid dose.
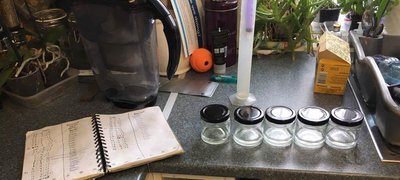
10. If creating multiple doses for later use, ensure the contents of the main jar are well-mixed and measure out the amount of liquid for each of the doses and put these into the dose jars. Label the dose jars with the scheduled time to take them and the dose amount in mL. Store appropriately based on pharmacist recommendations.
11. Mix and drink the contents of the main jar or the dose jar(s) as appropriate. Put some extra water into the syringe(s) and each jar afterwards, shake, and ingest the contents to ensure the complete dose is taken.
12. Record all relevant amounts and information in a taper journal.
13. Clean all the gear, separate parts and allow to dry thoroughly, and put away.
TWP’s Companion Guide to Psychiatric Drug Withdrawal Part 2: Taper