Sample Implementation: Making and Cutting a Liquid Mixture
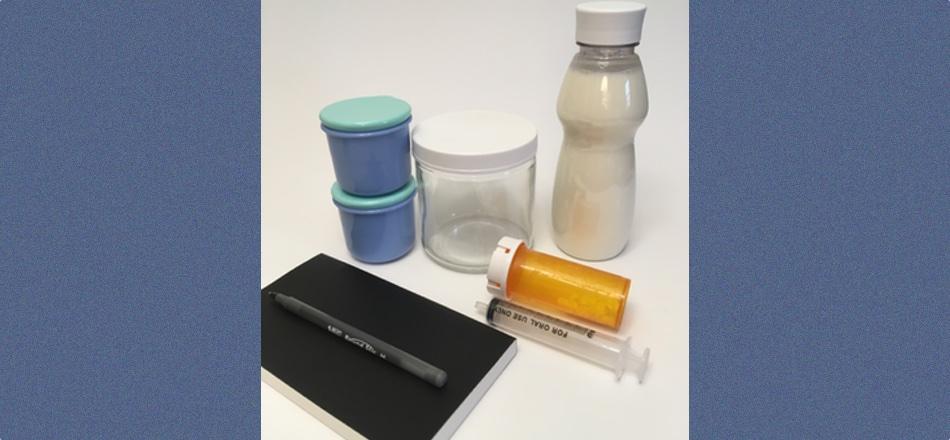
1. Set up a quiet, spacious, dry area that’s easy to clean for a working space, and have all the necessary gear to hand. Ensure the space and gear are clean and preferably sterile.
2. Using a syringe or pipette, measure the calculated amount of liquid to be placed in the main jar, and deposit it into the main jar.
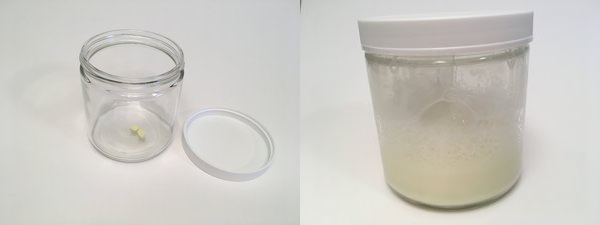
(Some people prefer to shake their liquid mixture in order to speed up the process of breaking a drug down.)
3. Crush the tablet(s) using mortar and pestle and put the resulting powder or slurry into the main jar, OR put the tablet(s) directly into the main jar and appropriately store or refrigerate the mixture while waiting for the tablet(s) to break down fully.
4. Use a small amount of the measured liquid from the main jar to rinse any tablet residue from the gear, and then pour that liquid back into the main jar.
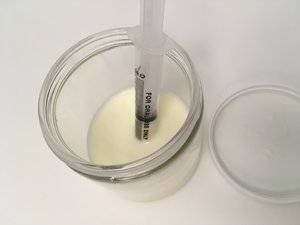
5. Shake/stir the contents of the main jar until the drug is definitely distributed evenly, and then immediately insert the slip tip of the syringe into the liquid and draw up the amount of the planned cut.
6. The contents that remain in the main jar are the new, reduced liquid dose.
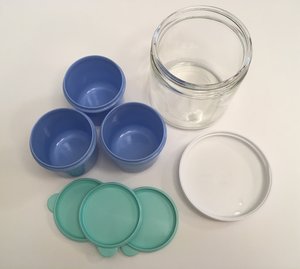
(Note that TWP does not recommend using plastic jars)
7. If necessary, divide the contents of the main jar into multiple smaller dose jars. Ensure the contents of the main jar are fully mixed and evenly distributed before making any smaller doses. If keeping any jars with doses for later use, label the jars with the date, dose amount in mL and scheduled time to take them, and store appropriately based on pharmacist recommendations.
8. Drink the contents of each jar as appropriate. Put some extra liquid into the empty jar afterwards, mix, and drink the remaining contents.
9. Record all amounts in the taper journal.
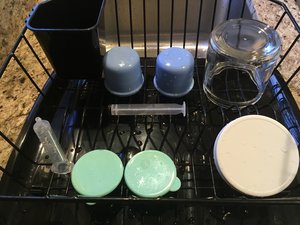
10. Wash and preferably sterilize if possible all gear, and dry thoroughly.
In this section
- Step 10- Get Informed About Your Psychiatric Drug
- Step 11- Ensuring that a Drug is Relatively ‘Taper-friendly’
- Step 12- Interactions, Reactions and Sensitivities
- Step 13- Taper Rates
- Step 14- Taper Schedules
- Step 15- Taper Methods
- Step 16- Preparatory Decisions
- Step 17- Gather the Gear
- Step 18- Essential Skills
- Step 19- Setting Up a Taper Journal
-
Step 20- Implementing a Taper
- Review
- Sample Implementation: Making and Cutting a Liquid Mixture
- Sample Implementation: Using a Digital Scale to Weigh and Cut Powder or Beads
- Sample Implementation: Counting and Cutting Beads
- Sample Implementation: Using a Compounding Pharmacy
- Sample Implementation: Making Cuts from a Manufacturer’s Oral Liquid
TWP’s Companion Guide to Psychiatric Drug Withdrawal Part 2: Taper